Ensuring the successful implementation of automated defect inspection
V-OPTICS offers comprehensive support to transform your quality control process with our expertise and innovative solutions.
From perceived quality to objective quality: the challenges of automating defect detection
Expected/perceived quality is based on customers' judgment, often subjective, leading to frequent debates between customers and suppliers over visual non-conformities. On the other hand, objective quality relies on precise criteria that can be measured using control tools.
Shifting from perceived quality to objective quality enhances process performance. Clarifying the quality expected by customers by determining objective acceptability criteria makes quality control more reliable. This is even more necessary in manual visual inspection processes, where human variability and the many influencing factors introduce a significant degree of uncertainty into the conformity/non-conformity decision.

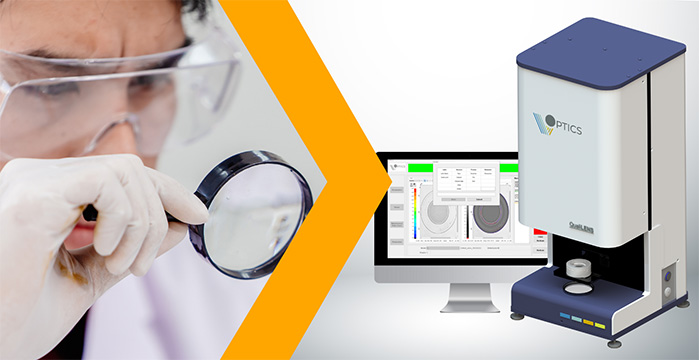
The automated inspection tool offered by V-OPTICS enables inspection based on objective criteria, ensuring precise and reliable defect assessment. By reducing or even eliminating uncertainties, this tool paves the way towards a "right quality" model—neither over-quality nor under-quality. This minimises high costs associated with scraps (over-quality) and customer returns or complaints (under-quality).
Prerequisites for successful automation
Automating a process is only effective if the manual process is fully mastered. The same applies to the control of non-conformities. To successfully automate defect detection, it is essential to define the starting point and to have a clear understanding of:
- The conformity criteria that determine which parts are acceptable and which are not
- The repeatability, reproducibility and consistency between operators and referents
- The current level of over-quality or under-quality
V-OPTICS methodology for automating your quality control
The V-OPTICS solution goes beyond providing automated quality control equipment, stemming from our technological know-how. We support you in integrating and optimising this equipment within your production process.
We have gained solid expertise in defect detection, validated in the field through the roll-out of numerous automation projects for our clients. We have worked on a wide range of applications and processes. Our expertise is built on 2 key elements: the defect database and acceptance criteria preset..
The defect database: a valuable reference
Our defect database is a comprehensive library of common defects encountered in various manufacturing processes. It enables greater standardisation and accuracy in the detection and identification of non-conformities. This database is continuously enriched through our field experience.

Acceptance criteria preset for automated decisions
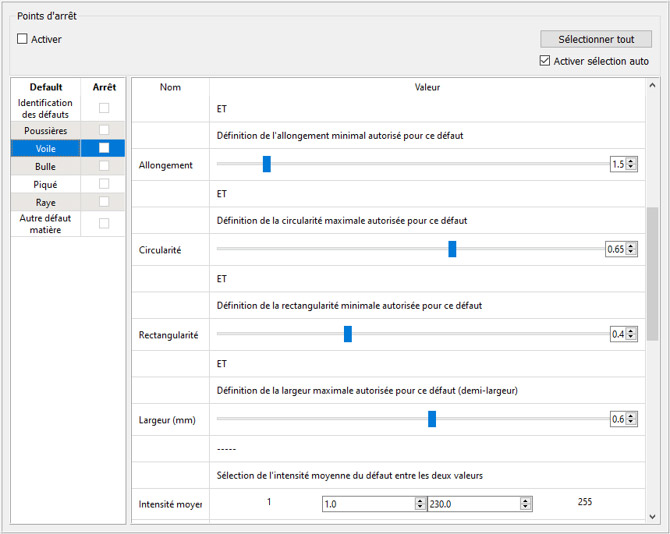
Each defect is meticulously modelled with various parameters to establish criticality thresholds that determine whether the fdefect is accepted or rejected. These criteria and thresholds can be customised to meet the specific needs of each application. With our assistance, you can define the appropriate acceptance criteria for your requirements, enabling reliable automated decision-making regarding part conformity.

7 steps to transformation
To implement this solution in your production, we support you at every stage of the transformation process, using a methodology validated by our experience on numerous projects.
1
Definition of project objectives
Identify objectives, associated performance indicators (KPIs) and the defects to be analysed.
2
Constitution of the reference database
Select representative parts and create a precise nomenclature of defects.
3
Pre-set
Model the defects in the automated system and set up acceptance thresholds.
4
Production setting
Iterative adjustments to align the automated system with existing criteria on reference parts.
5
Start in production with double checking
Automated control and control by human operators carried out in parallel, monitoring deviations, iterative adjustments to refine compliance criteria and ensure reliability.
6
Progressive reduction in double checking
Double-checking restricted to uncertain parts, where the defect is ambiguous, with manual intervention to requalify and improve the database for these grey areas.
7
Minimising grey areas
Optimisation of the system through the analysis of requalifications of ambiguous defects.
Customer case studies
Our solutions have already transformed the quality control processes of leading manufacturers in the ophthalmic and industrial sectors. For example, a sapphire watch glass manufacturer significantly reduced its costly over-quality, while an intraocular lens (IOL) manufacturer improved objectivity and consistency in its defect detection process. Find out more about these and other case studies in our news section.
Our support services
To ensure a successful transition to automated quality control, V-OPTICS offers a full range of customised services tailored to the challenges facing your production sites. Whether you are at the initial integration stage or in an advanced roll-out phase, our experts are by your side to ensure the success of your project.
Essential services
Training
Basic training: Use of equipment by operators and maintenance teams
Advanced training: Defect modelling and decision-making settings
Technical support
Maintenance agreement with email and phone support, including software updates
Troubleshooting service via remote maintenance
Operational readiness maintenance
Spare parts supply
Equipment repair and technical problem resolution
Expert services
Optimisation support
Advice on system implementation and configuration
Support for deployment methodology
Project and KPI monitoring
Integration support
Interfacing with existing systems like ERP, MES, and SCADA for seamless production management
New defect
Customised solutions tailored to specific requirements
Metrological control
Metrological connections of measuring equipment according to standards:
• Recalibration
• Defect reference connections based on Scratch-Dig standard
Metrological certificate
Optimise the transition to automated quality control with experts
Let our experts guide you through your challenges and initiate your transformation project towards automated cosmetic inspection.
